Thursday, September 3, 2020

Triple Cube Card - Picture Tutorial

 Hello Stampers,

I been looking for a easy but a 3 dimensional card. Looking through Splitcoaststampers site I saw this little card. Here is the link to there's -. https://www.splitcoaststampers.com/resources/tutorials/triplecubecard/

I have followed this, but have changed the colours and the card size just a little to suit Australian A4 card stock.

Stamp Set -Zany Zebras 

Card Stock - Magenta Madness, Mango Melody, Whisper White and DSP Artistry Bloom

Ink - Magenta Madness, Mango Melody, Memento Black

Accessories - Simply Scored, tombow glue, punches

What I used - 8 1/4" x 8" Mango Melody card Stock

                       6 x 1 3/4" x 1 3/4" squares in Magenta Madness

                       6 x 1 1/2" x 1 1/2" squares in DSP Artistry Blooms

                       4 x 1 3/4" x 1 3/4" squares in DSP Artistry Blooms

                       1 x 2 1/4" x 7/8" magenta Madness

                       whisper white for the strips 1/2" x 1 3/4" and fold in half.

Whisper White for stamping.

Follow along with the pictures and you will be able to create one of these beauty's as well.


 This is the completed card.

Your main colour of card stock (Mango Melody) 8 1/4" x 8". with the 8 1/4" to the top of your simply scored - score @ 2, 4, 6, 8.

Turn and cut @ 4", 6". 

The 3 pieces to create card base. 2 x 2" x 8 1/4" and 1 x 4" x 8 1/4"

Cut 6 squares with your 2nd choice of colour (Magenta Madness)  1 3/4" x 1 3/4" and 1 piece for sentiment 2 1/4" x 7/8"
Cut 4 squares from your chosen DSP (Artistry Bloom) 1 3/4" x 1 3/4"

then cut 6 squares from the same DSP 1 1/2" x 1 1/2" 

 
Cut 2 pieces from scrap whisper white measuring 1/2" x 1 3/4" and fold in half
Layer your 6 DSP 1 1/2" pieces onto your Card Stock 1 13/4"

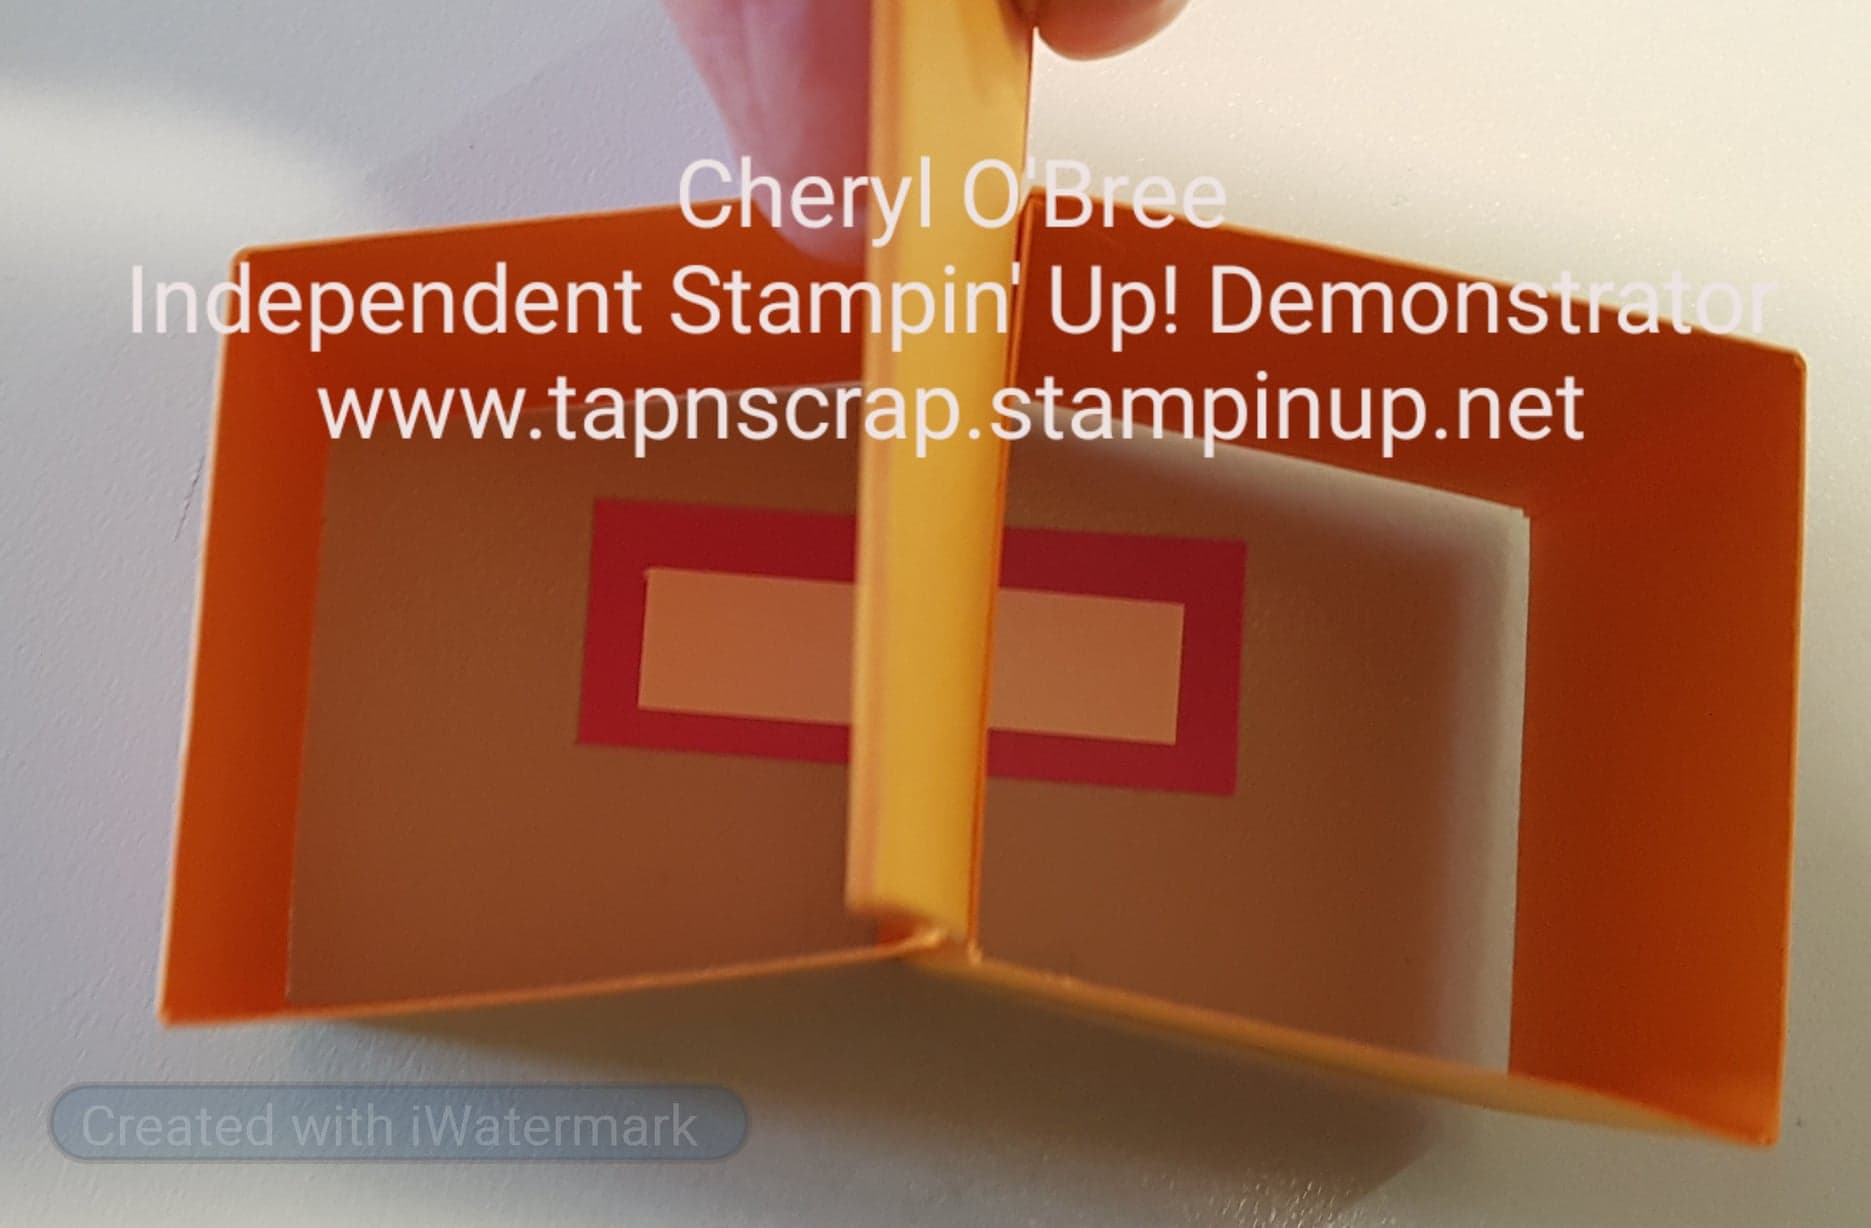
On the card base piece, you burnish on fold lines and snip the ends on the 1/4" end, as show in above pic.
Add tombow glue to the 1/4" flap and join  to card stock to make a cube.

then join the other two pieces to make cubes.

Three cubes complete.

Next mark an X on both small cubes on 1 side, and mark X to the bottom of your largest box.

Adhere smaller cubes to the largest one as above.
Both smaller cubes adhered to bottom of the largest cube.


Layer the 6 pieces of card stock and DSP pieces to the front of the cube.

Now adhere the 4,  1 3/4" squares to the inside of the of the largest cube at the top.

So far we should have this.


Fold card as above, as we are now going to adhere the sentiment in the middle of the card.

Adhering the 2 small pieces of whisper white 7/8" x 1 3/4" folded in half. to either side of the middle section.

which looks like this.

Then adding the Magenta Madness card stock piece 2 1/4" x 7/8" to the flaps. Picture looking down.

pic from front. Your basic card is finished, and you can decorate as you please.
I added a couple of sentiments and the cute little Zebra's to mine, make a little girls gorgeous birthday card. You can have any colour Zebra's right.😊


I hope you give this a try, and would love you to check back and see more ideas that I share with you. So follow my blog and don't miss any updates. 
 
Keep Stampin'

Cheryl😊


Saturday, August 22, 2020

RETURNING FAVOURITES - MERRY MOOSE

 Hello Friends

Its a cold and blustery day here, so I thought I would share some of our returning favourites with you. 

Merry Moose Bundle 

Here are some samples that I have created direct from the catalogue, from many amazing stampers from all over the world and my own samples.

The background is already done for you, using the amazing Feels like Frost DSP - 150444
Gorgeous banner ready for hanging.

Traditonal Christmas colours.

A little bit of gold embossing and some Christmas bells.
Another background from the Feels like Frost DSP 150444
Stamping with the background stamp Buffalo Check 151372, so any colour is possible

Stamping beautiful Christmas trees, and easy to punch out your moose.

Checkout this set at my store

Stay Healthy and Happy

Keep Stampin'

 Cheryl


Friday, August 7, 2020

Creating your own Designer Series Paper (DSP)

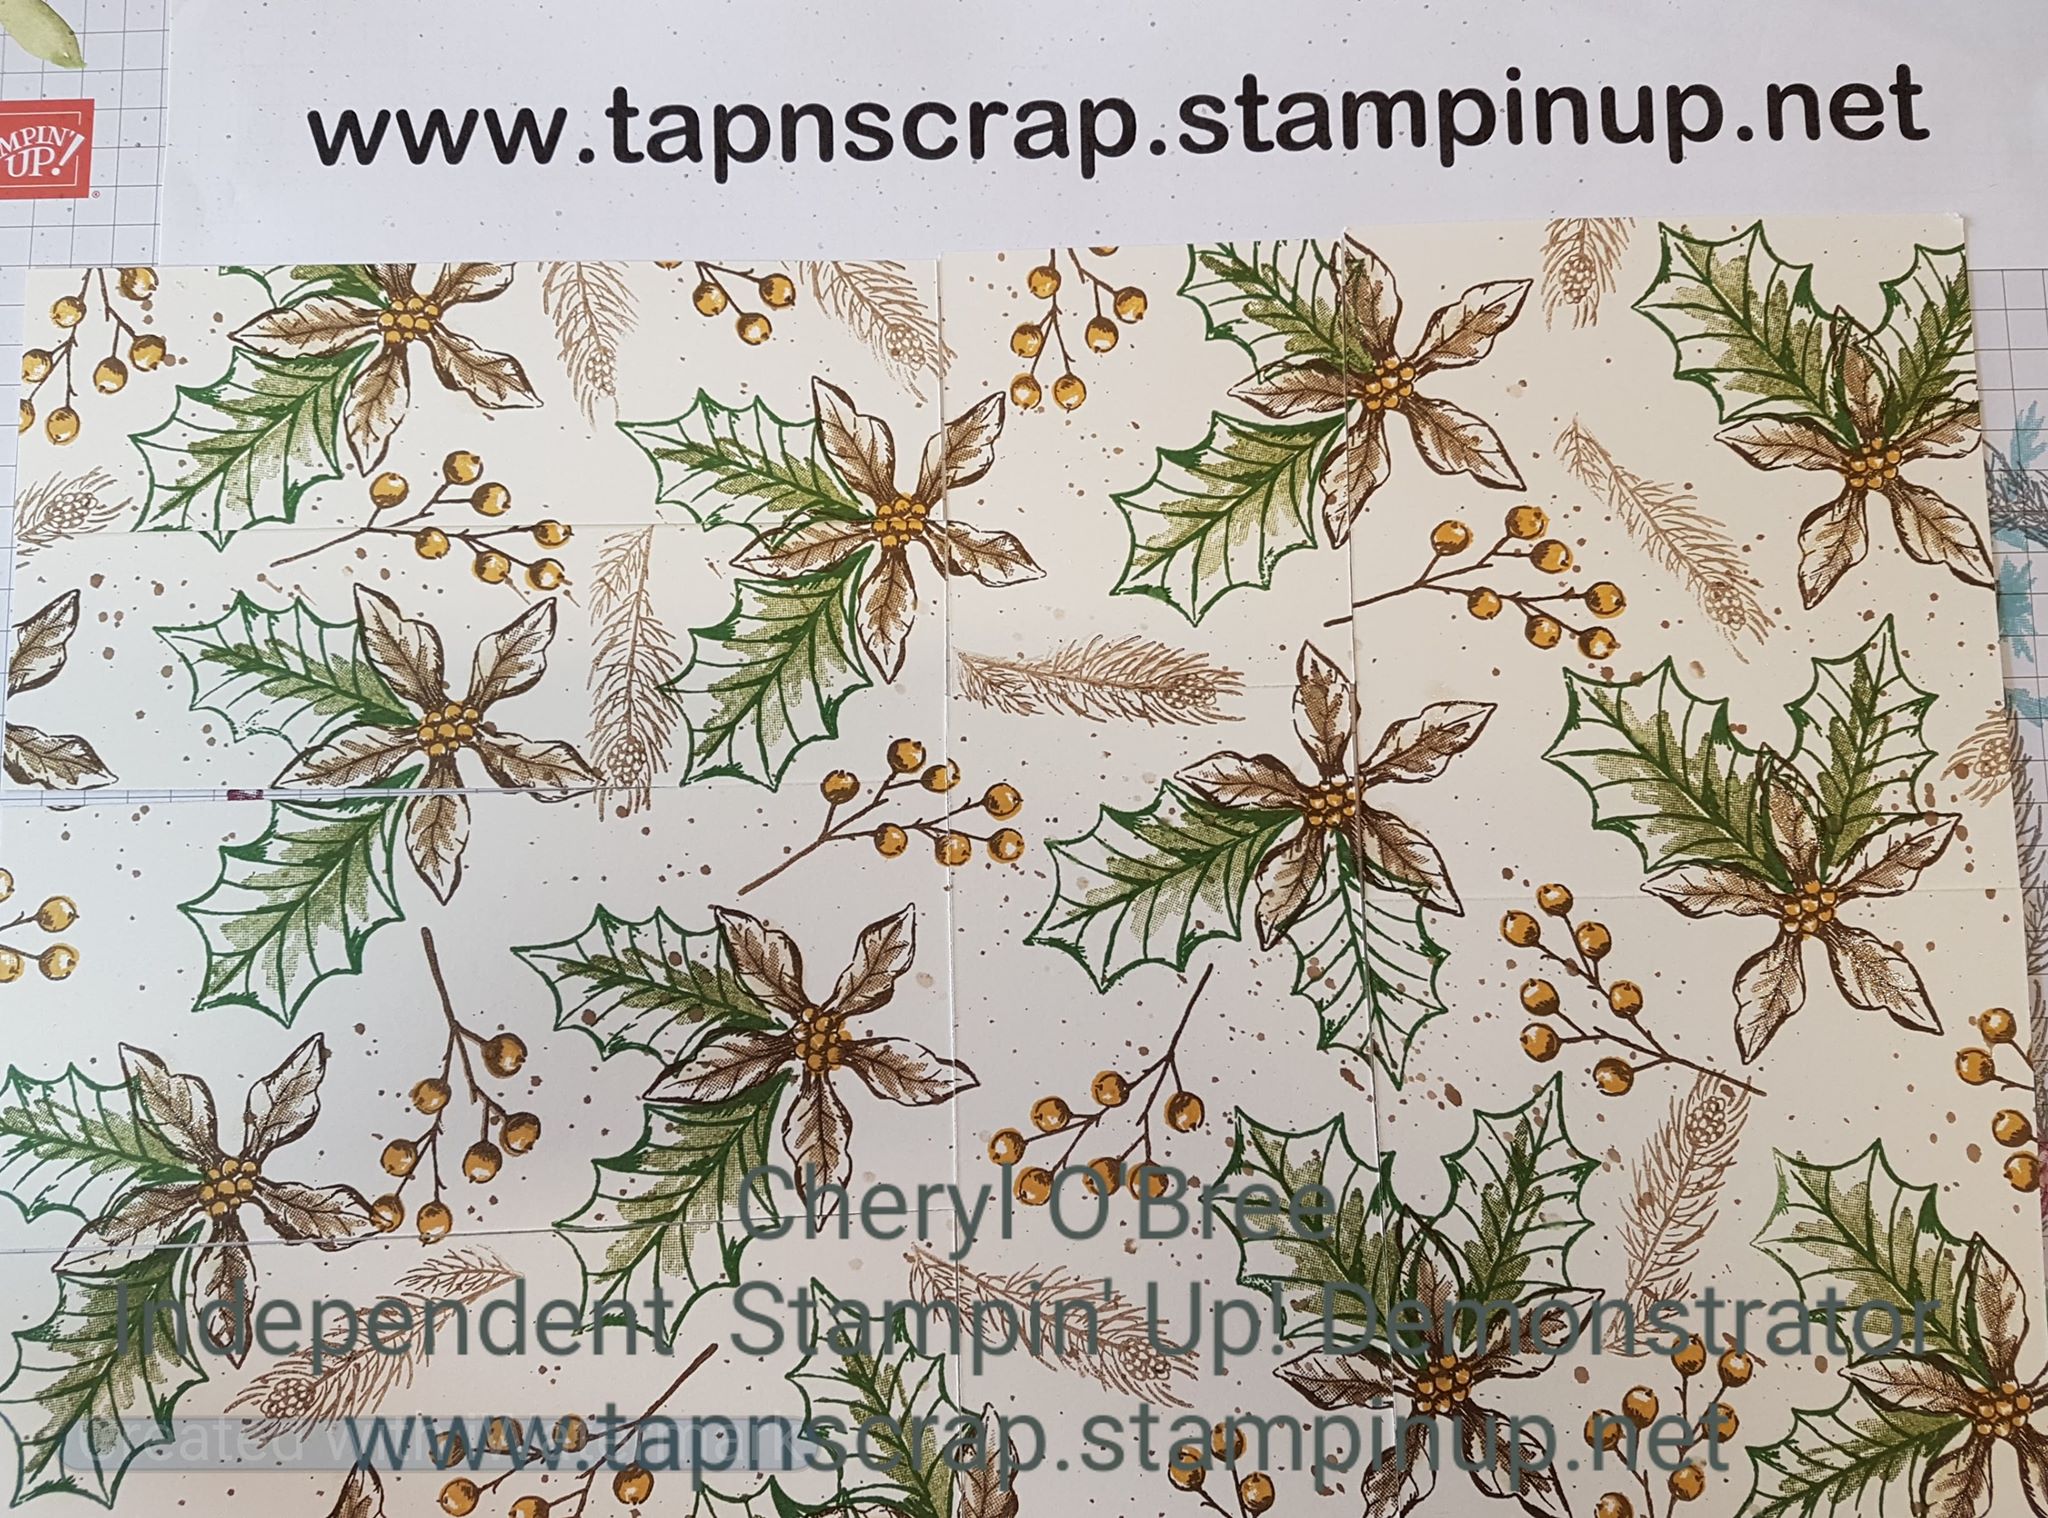
 Wow what a day I have had creating my own DSP with a beautiful stamp set that has been released from Stampin' Up! new August-December 2020 Mini Catalogue.

Poinsettia Petals 

This set is an amazing set, I have had so much fun playing with it and making many different projects. But today I want to share with you the DSP that I have made.

I have used 3 different colour ways and this will show how different it looks. All gorgeous, and very simply to create.

My first set of cards are using Cherry Cobbler, Shaded Spruce, Crushed Curry and Whisper White. Added a little gold foil and small embellishments.


My next colours used are from the dsp that Stampin' Up! have co-ordinated with the Poinsettia Petals suite. Soft Suede, Old Olive, Garden Green, Bumblebee and Very Vanilla.

I have created a youtube video for you to watch and see how easy it is to create this DSP.

This is how I cut up the completed DSP, so I have included the sizes I used and how it looks from the under size. I used A4 Very Vanilla.
How I ruled it up.
The completed side, when I finished making my DSP, and below cut up.


 The complete set in this colour way. I added a little wink of stella to the poinsettia petals to give a little shimmer.

The final set of cards are made from Night of Navy, Balmy Blue, Basic Grey, Smokey Slate, Merry Merlot, Bumblebee and Whisper White. 

Checkout my Youtube Video


All the products I have used throughout these sets are as follows-

Stamp Set - Poinsettia Petals and Tag Buffett

                      Poinsettia Dies 153522,  Wonder of Season ribbon 153537, 

                      Metallic Mesh Ribbon 153550, Rhinestones 144220 and various 

                      Layered circle dies 151770, Ornate Border Dies 152724,

                      Dainty Diamonds E/B folder 152702, Tasteful Textile E/B folder 152718,

                      heat embossing both gold and silver.

I hope you have ago at making your own DSP, and share some of your cards with me.

Stay Safe and Keep Stampin'

Cheryl

Thursday, July 23, 2020

Twist Card - Stampin' Up!

It's a cold winter's day, so I thought what a great excuse to play with some amazing returning and new products from the Stampin' Up! mini, which will be live on 4th August.

This is the original Twist card that has been around for along time. Giving a this card a new life with gorgeous products.


 The above supplies are returning products, stunning Designer Series Papers and great stamp set and 2 punches bundle - Christmas Gleaming Variety 156082 ($109.75)

 Beautiful new bundle, very versatile, not only for Christmas. Can be used for any occasion.  Gift Wrapped Bundle 155155 - ($54.75) Stamp set and Punch.

 All the above cards have been created from current and new Stampin' Up! products.

I enjoyed creating this card so much, I decided to make one for our grand-daughter who turned 9 yesterday. She loves lego, so I dragged out a very old Stampin' Up! set( Boys will be Boys) and with the pocket inside, she was very happy with the $$$.

If you would like to give this card ago here are the dimensions that I used:-

Card Base - Card Stock -  11" x 4 1/4"
                    Card Stock 1st Layer - 10 1/2" x 4"
                    Designer Series Paper - 10 x 3 3/4"
 You can create any of your favourite embellishments to decorate the card.

 Check out my Youtube video for a step by step tutorial here

Please subscribe to my youtube channel if you liked my video. 

Hope you enjoy this card.  Stay safe everyone.

Keep Stampin'

Cheryl


Stamping One Sheet Wonders

 Hello Stampers, This is a follow up from my August Online Class, with this fun technique. I absolutely love this type of stamping. Love to ...